07 Sep, 2025
Hirogami Walkthrough Table of Contents
Welcome to the Into Indie Games walkthrough for Hirogami.
For more information on Hirogami beyond this walkthrough, check out the official website here.
In this section of our walkthrough for Hirogami, we cover the second chapter of the game, in which we learn to become a frog and slam on mushrooms to get higher.
Chapter 2
Once you’re done with Chapter 1-2 and have wrapped up any tasks with Ruz Pappy, head north from 1-2 to find 2-1.

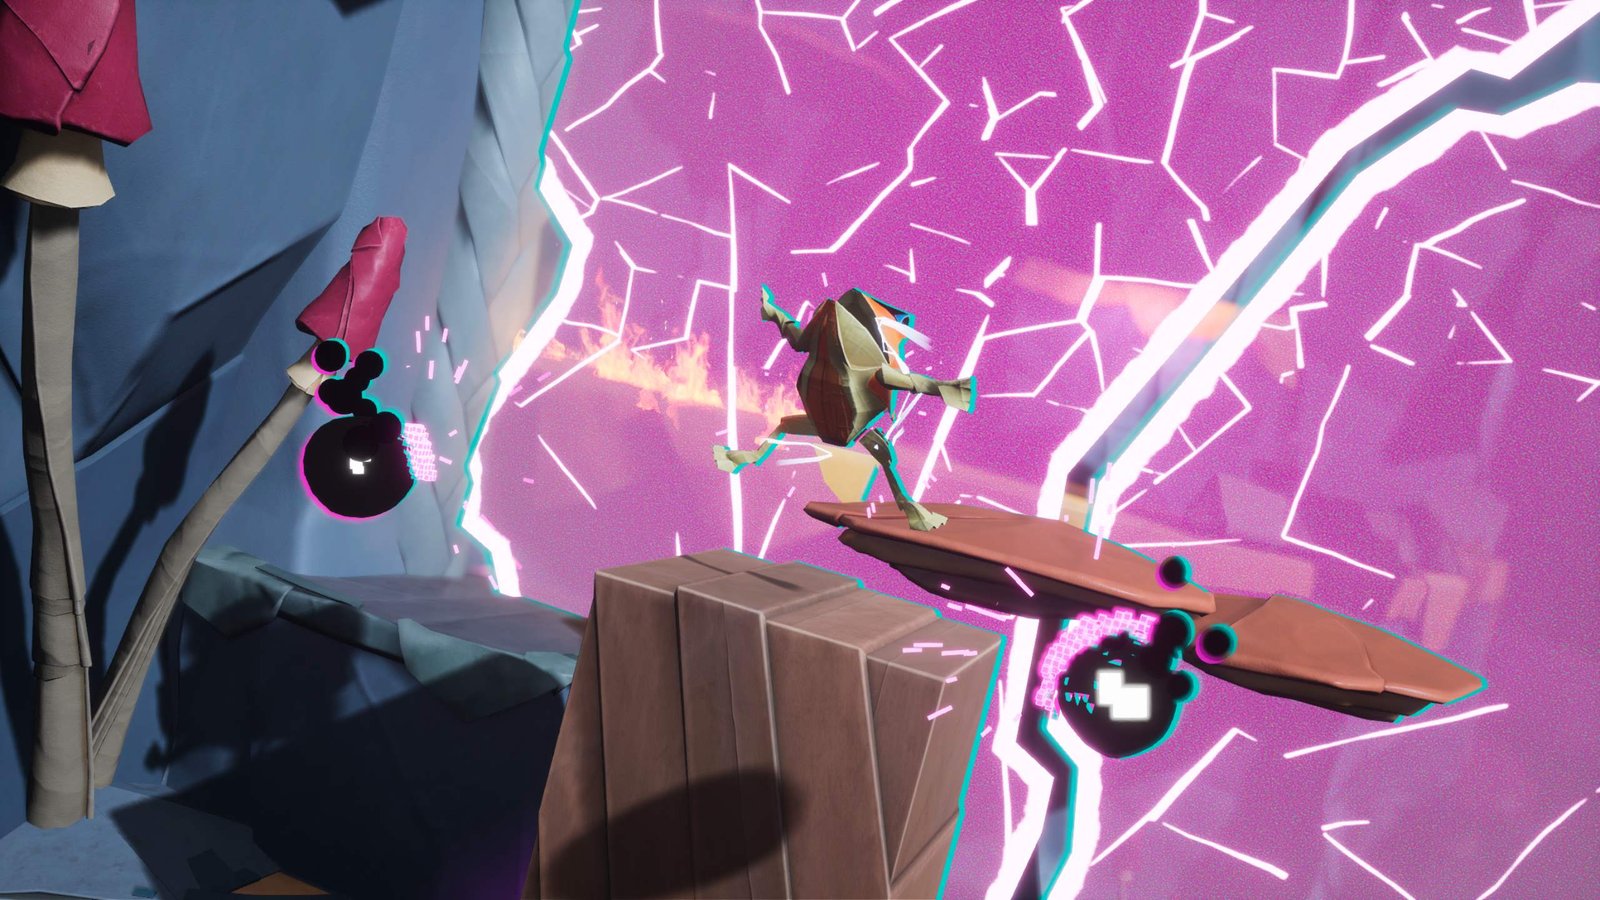
Chapter 2-1: The Toad’s Trial
As usual, we have to restore a crane shrine here. You can get additional cranes by clearing the level within 6 minutes, and by defeating 4 frogs. The second crane task is tough and is probably best left for after the first run.

Start by heading left and dealing with the various blighted glitchers.
When you reach the wooden blocks, smash through them as an armadillo. Float up and then get past the gears by transforming into paper and sliding under.

Continue with some armadillo combat and then break down the wooden blocks above and below the ramp.
Pick up the craft paper and restore the upper ramp with your Sacred Fan Dance. Then, go up the ramp.

Continue past more wooden blocks and a bridge that’s all too happy to break, and you’ll eventually come across a blighted frog.

First take out the glitchers in this battle and then as Hiro, remove the blighted blocks that surround the large wooden block.
Break the wooden block as an armadillo and then defeat the frog by rolling into it.
With this, you’ll free Bingley and also gain the Frog form. The Frog form isn’t as fast as a rolling armadillo, but it can jump higher than any other form.

Switch into Frog fold and jump up the high platforms ahead. You can hold down the jump button to jump higher.
Continue making your way up, using the updraft, until you get to a broken bridge.
Here, go forward instead of to the right, and jump on the red mushroom to find a platforming section to the left.

Go left, jumping over the spikes and staying on the moving platform. Pick up the Craft Paper here and then go right. Remember to unfold into paper to slip under the second set of spiky rods.


Return to the broken bridge and fix it as Hiro.
Roll right as armadillo and drop down to a battle area. Defeat some enemies here and open the treasure chest to collect 50 Gold Paper.

When you’re ready to move on, go towards the camera and then left up the ledges as frog. Jump across the gap in the bridge to the right and you’ll find a mill spinning way too fast.
Use your sticky spit on the mechanism to the right to stop the mill. Jump onto the mill blade and then onto the other side.

As frog, attack the enemies with your sticky spit to break their shields and interrupt their attacks. Then, follow up by rolling into them as armadillo or whacking them as Hiro.
Continue forward the same way as before – by jamming the mechanism with your spit and jump off the blade.
Next up is another moving platform section, but before any of that, drop down the ledges and go right.

Use frog fold to jump up the ledges and armadillo fold to break through the wooden blocks. You’ll get some Kozo Paper under a ledge this way.

The area beyond here is inaccessible to us at the moment, so go back to the moving platforms.
Cross the moving platform platforming section, which takes you up to a combat area with two blighted frogs. Defeat both of them to get your bonus mission crane.

Continue forward to reach the shrine. Toggle the levers to the left and right of the shrine.

In frog fold, jump up the ledges to the very top, and then move forward over the moving platforms. Once on the other side, grab the Celestial Crane Amulet and make your way back to the shrine the same way you came.

As usual, fix the shrine to complete the chapter.
Chapter 2-2: Leaping Escapade
Our missions for the second chapter are fairly straightforward again. Apart from restoring the shrine, you must collect 2000 paper and cleanse 10 origami animals.

Start by transforming into an armadillo and entering the cannon to the left. Once on the other side, go a bit left and transform into a frog.
Jump up the mushrooms right before the spiky gears, and make your way up.

Once on top, keep going right until you drop into a barred area with an updraft in it. Transform into paper to go all the way up and then approach the camera.
Open the chest here to get a Relic Piece, and then drop down to the right (after breaking the blighted block). Then, continue on your way left.

Beyond the spiky gears, you’ll re-encounter Bingley and find a new ability for the frog fold. There’s also some enemies to practice it on.
After defeating them, go forward and make your way through the wooden blocks in the armadillo fold.

Battle the enemies on the other side and open the green chest to find 15 Craft Paper, which is conveniently exactly as much as you need to repair the three stone pillars in the area.
Perform the sacred fan dance for all three pillars and also the broken altar – the latter being critical to open up the way to the right.

In frog fold, jump onto the shortest pillar and make your way right. Then jump towards the fire and unfold into paper so you can float onto the updrafts.
Use your slam move on the other side to go up the blue mushrooms.

Then, you’ll encounter some moving platforms. Before going up them, look left to find a blue mushroom.

Slam on it, then the next mushroom in front, and as paper, glide towards the updraft inside the tower. Keep moving forward onto the next platform.
Clear the blight on top of this platform and glide forward as paper again to reach a yellow platform with a purple chest that contains 10 Kozo Paper.


Now jump left and glide to reach another yellow platform.
You can continue here, but you can also go back on the moving platforms to find some blight to clear (and get paper from).
Once you’re back on the yellow platform with the altar, continue onto the long moving platforms. Be sure you’re in frog fold, as you need to make some long and tricky jumps here.

On the other side of the tricky jumps, slam on a blue mushroom and glide forward. Rather than landing on the yellow platform, aim a little lower for the blue and red mushrooms.
Drop down the mushrooms to find a chest with 100 Gold Paper in it. Then, go back up the mushrooms to reach the yellow platform.

Here, we have a pillar that needs repairing with 6 Craft Paper. To find it, go left over the stone bridge.
Continue left over the broken bridges onto an area with moving spiky gears. Use paper to slide under the gears, and drop down the second pit to find a chest containing 50 Gold Paper.


Going further left will engage you in combat with both blight spheres and blighted animals. Remember to destroy the blight blocks as Hiro before ramming into the wooden pillars as armadillo.
After combat, head forward over the yellow platforms and once on top, go right while avoiding the spiky gears. Use the sacred fan dance on the altar to clear the bramble ahead.

Drop down the platforms to collect the Craft Paper and go on right.
When you’re back at the broken pillar, repair it with your sacred fan dance. Then, go up the yellow platforms (and mushroom) to the right in frog fold, to be able to jump on the pillar.


Continue left, then forward, and then once on the updraft, travel right. While still in paper form, slip through the narrow gap and immediately switch to armadillo fold.
Break through the blocks to go right and clear the blight as Hiro.

Repair the altar and jump high to the right, being careful not to fall on the fires. Towards the bottom, glide to the right.
Further on, you’ll encounter a bunch of enemies. Take them out and collect the Craft Paper on the yellow platforms.

Fix the stone pillars as Hiro and jump on them as frog.
We finally find the Crane Shrine here.

To find the crane itself, go forward and jump on the stone platforms, carefully moving forward and jumping as they retract.
At the end of this platforming section, open the chest to get the celestial crane amulet.

Make your way back the same way to reach the shrine again. Defeat the enemies here, fix the crane shrine, and you’re done with this level.
Chapter 2-3: Ascent of the Blighted Spores
(This part of our walkthrough for Hirogami is in progress! Check back later!)
Click here to head to the next part of the walkthrough for Hirogami! (In progress!)
Thank you for reading this walkthrough for Hirogami! For more interesting articles on all things indie games, be sure to check out the links below.