Whisper of the House Walkthrough Table of Contents
- Arrival & Luna’s House
- Cheryl’s Bakery & Alchemy Workshop
- Jane’s Store, Showroom & Fishie’s Cabin
- Cocktail Bar, Convenience Store & Supermarket
- Fishie’s Cabin 2, Convenience Store Pro & EinSmart’s Grandpa’s Home
- Sage’s Office & Anna’s Flower Shop
- Hospital Garden & Cleaning Up Room 205
- More parts to come!
Welcome to the Into Indie Games walkthrough for Whisper of the House.
For more information on Whisper of the House beyond this walkthrough, check out the Steam page here.
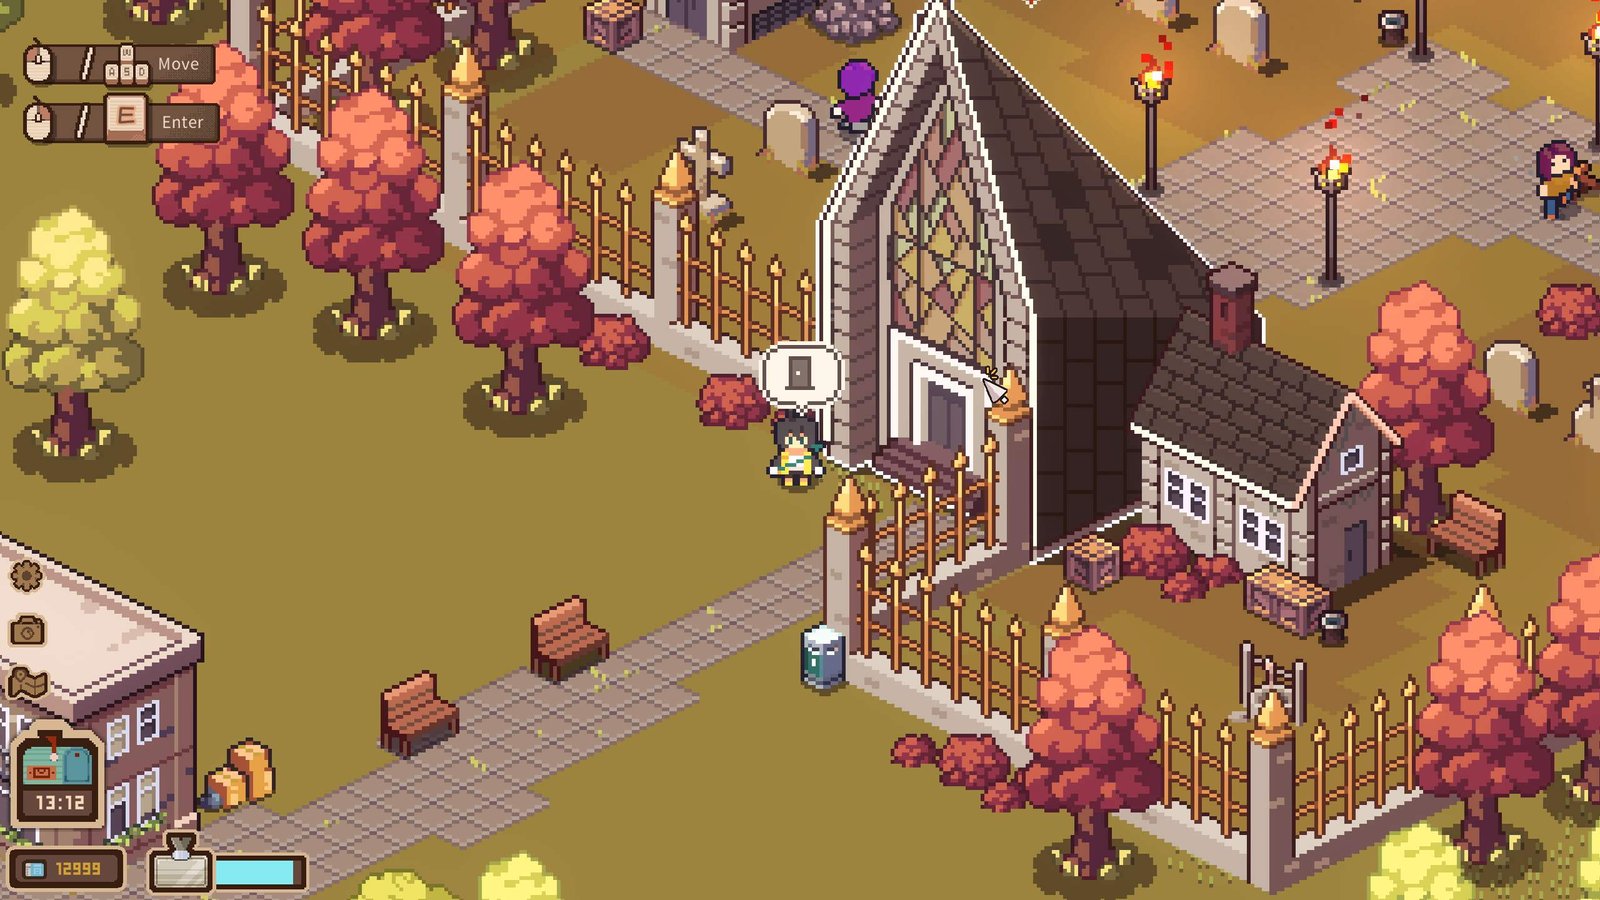
In this section of the walkthrough, we visit the Red Forest Cemetery, where we set up a photo wall, place offerings on the offering table, explore a very spooky tower, and summon ghosts of all kinds.
Red Forest Cemetery – Photo Wall & Offering Table
Our only job request at the moment is from Lewen, the graveyard keeper, who needs help with the upcoming Festival of Spirits.
The Red Forest Cemetery can be found to the northeast of the hospital, so head there now.


There’s quite a bit to do in the cemetery. We have to remove the wild grass from the ground, decorate the graveyard, and place offering table and items as required.
What’s more, there’s a cursed photo wall to the far left. Let’s start by un-cursing it.

A similar but completely broken down photo wall can be found to the right. Assemble it correctly by placing the bricks in place.
There’s a blueprint (a crumpled paper) lying amidst the bricks that shows how the photo wall is supposed to look.
Once you’re done arranging all the bricks, put the Photo Wall Top on top of the photo wall.


This will summon a ghost who you can talk to several times.
Next, let’s start cleaning up the graveyard. Pick up wild grass to get rid of it and put waste items in the bin to the far right. Make sure to further break down the broken furniture and deposit the wood into the bin.

Removing all the wild grass near the left photo wall will cause another ghost to appear.

On the grave with the candles, light up the candles in a specific order to feel a chill. The order can be found on the tombstone of that grave.

Check the signboard near the graveyard entrance for a photograph of EinSmart’s grandpa. Put this photo on the tombstone with the empty portrait.
Examine the tombstone once and then un-curse it to have the grave settle between existence and non-existence.

Now, finally, we’ll begin pulling out decorations. You’ll have to place the offering table according to designated spots.
Once the offering table is complete, Ghost B will unlock the door to the tower. Head on into the tower to see what’s inside.

The Cemetery Tower
You can try turning on the lights on the first floor – but they’re broken. Check the light above the portrait painting and un-curse it by right-clicking on it repeatedly.

There’s a very creepy music box in the middle of the room that you can open to hear some eerie music.
Grab the key below the window and use it on the door up the stairs. Then, head to the second floor.

On the second floor, there’s quite a few objects to interact with, but our goal is to find the key to the upper floor. This can be found in the lower drawer below the window.

Head up to the third floor and turn on the lights for a better view. You can also pick up the lantern and move it around for better lighting.
Open the wardrobe on this floor and you’ll find the key inside. Pick it up and use it on the door to the fourth floor – only to find out that it’s a fake.
Interact with the bed to find the key under the duvet. This is the right key, so use it on the door and proceed to the fourth floor.

Up at the top of the tower, read the memo note and then continue to be taken down to the graveyard again. This activity summons Ghost B at her grave.
Settling the Task at Red Forest Cemetery
Continue decorating the graveyard now. When you unpack the ghost standee, there will be a cat toy hanging from it. Pick up the cat toy and put it on the grave with the paw print on it. This will summon the cat’s ghost.

When you’re done with everything, settle the task.
On checking the mail after this, we learn that we’ve been promoted to Star Organizer. This gives us access to a new home, yay!
The next mail is another creepy black note, but we can’t seem to do anything about it, so don’t mind it.

This concludes the main story of the game with all the tasks complete. To finish the game, however, you need to find the remaining ‘cursed’ objects. We’ll handle this in the next part of the walkthrough.
Click here to head to the next part of the walkthrough for Whisper of the House! (Museum & Ending)
Thank you for reading this walkthrough for Whisper of the House! For more interesting articles on all things indie games, be sure to check out the links below.